
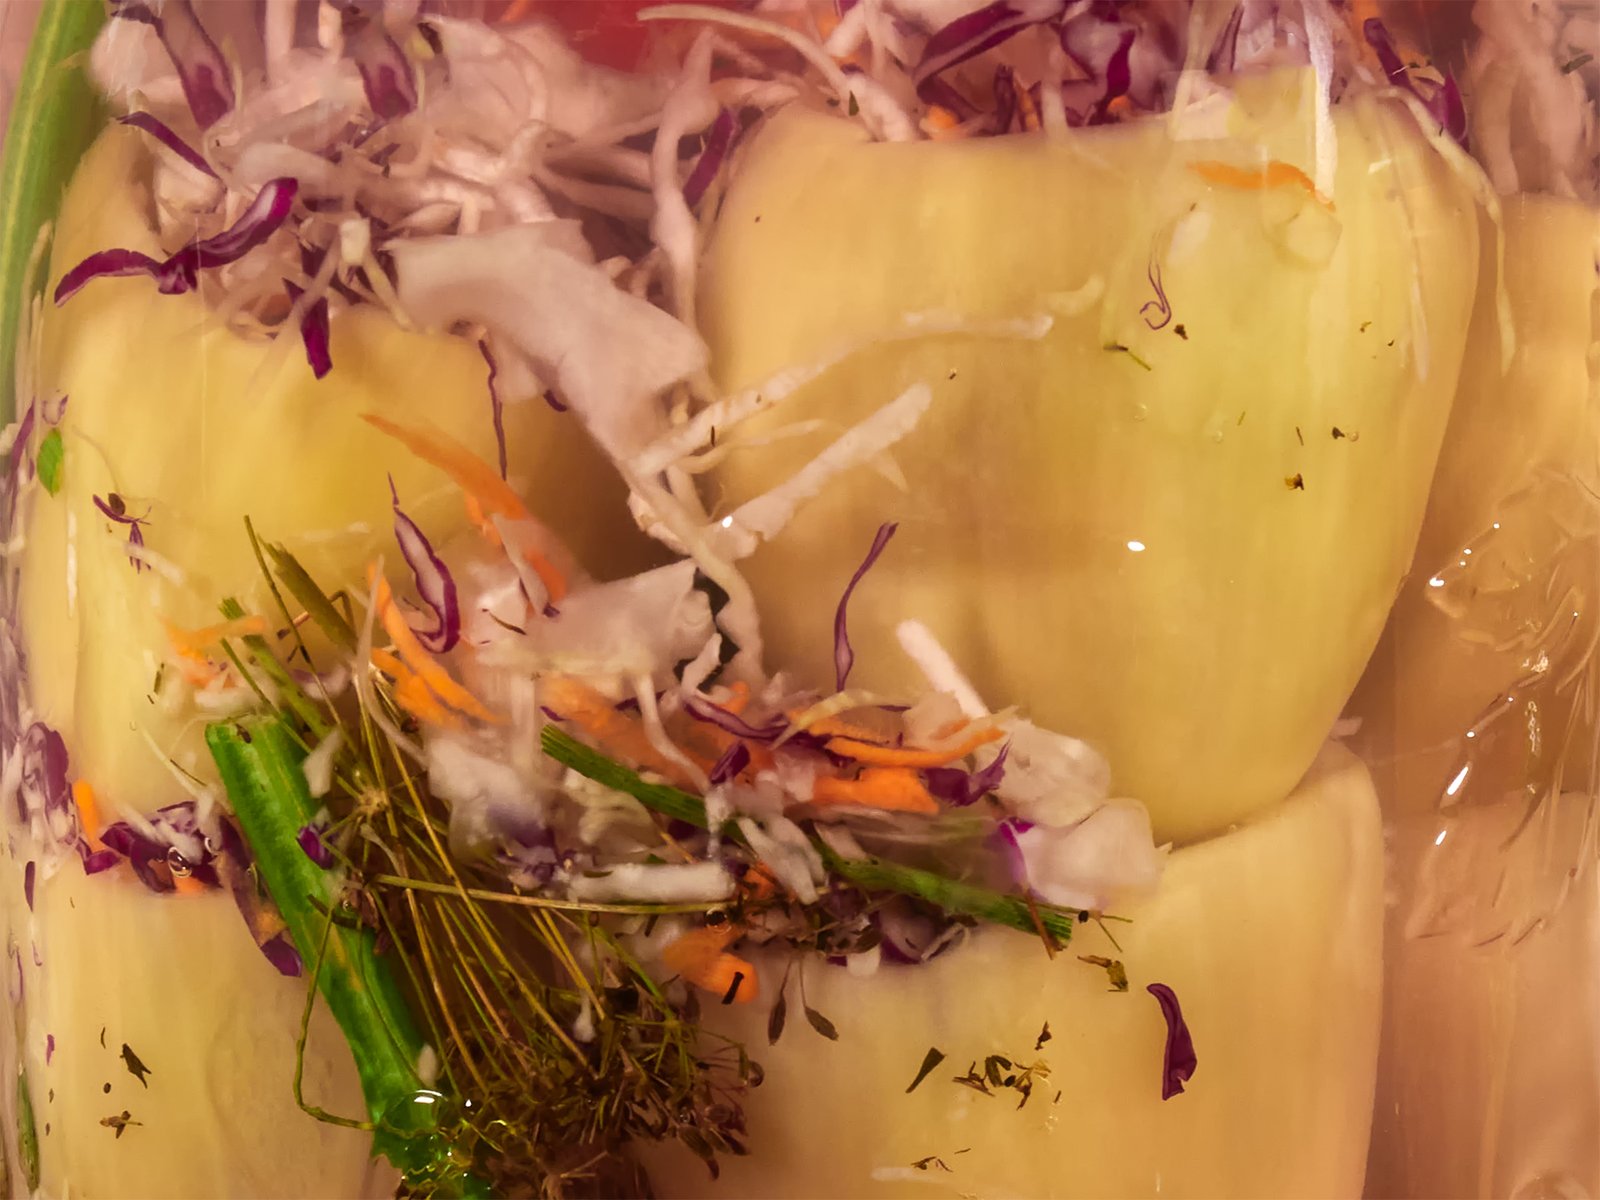
As we do every autumn, we make our usual batch of bell peppers stuffed with cabbage and fermented in salt brine. Today, I’ll show you how we prepare them.
These are by far some of the easiest homemade pickles you can make. They don’t require much work; they’re ready in about two weeks, and if you follow a few basic rules, very little can go wrong. Since they’re naturally fermented without vinegar, they can also be a good source of beneficial live bacteria.
In our family, they’re among the most popular pickles, especially because the cabbage stays crunchy and develops a pleasantly tangy flavor with hints of celery, dill, and horseradish. They go particularly well with roasted or grilled meats, stews and bean dishes.
We usually prepare two 5-liter (approximately 1.3 US gallon) jars, about two or three weeks apart. This way, by the time we finish the first jar, the second batch is ready to eat. There’s no point in making both batches at once, especially since we prefer our pickles fresh and crunchy.
The recipe is based on the one my mother has made for years, with a few small changes we’ve added over time.
The ingredients
We’ll obviously need bell peppers. I prefer the pale green ones, and I always choose relatively small peppers, preferably of similar size, as they’re much easier to arrange inside the jar.
We’ll also need a small white cabbage, a small red cabbage, a few carrots and a whole celeriac plant, including the root, stalks and leaves. Red cabbage isn’t essential, but it gives the filling a beautiful color.
For flavor, we use dried dill stalks, a sprig of dried thyme and a horseradish root.
My mother also adds a hot pepper, but we’ve decided to leave it out. We don’t want the pickles to be too spicy; otherwise, we’ll get complaints from our daughter.
ad
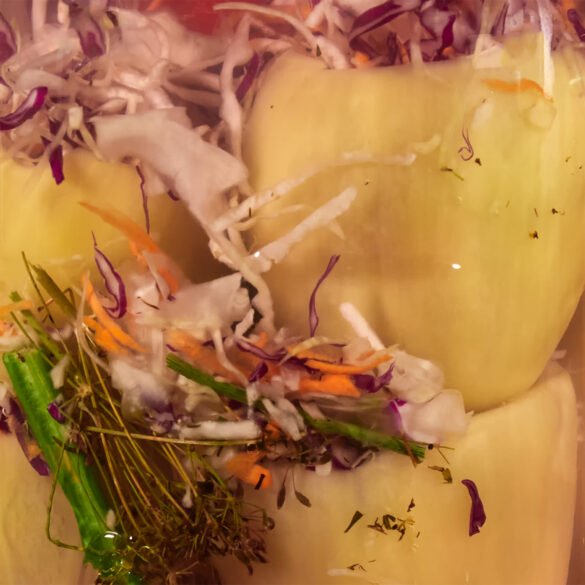
Ingredients
- 8–10 small bell peppers, preferably pale green
- 1 small white cabbage
- 1 small red cabbage
- 2–3 medium carrots
- 1 small celeriac (celery root), preferably with stalks and leaves attached
- 1 horseradish root
- 3–4 dried dill stalks
- 1 sprig of dried thyme
- 1 level tablespoon coarse, non-iodized salt, for the cabbage
- 3 litres (approximately 3.2 US quarts) water
- 90 g coarse, non-iodized salt (30 g per litre)
- 1 hot pepper
For the brine:
Optional:
Instructions
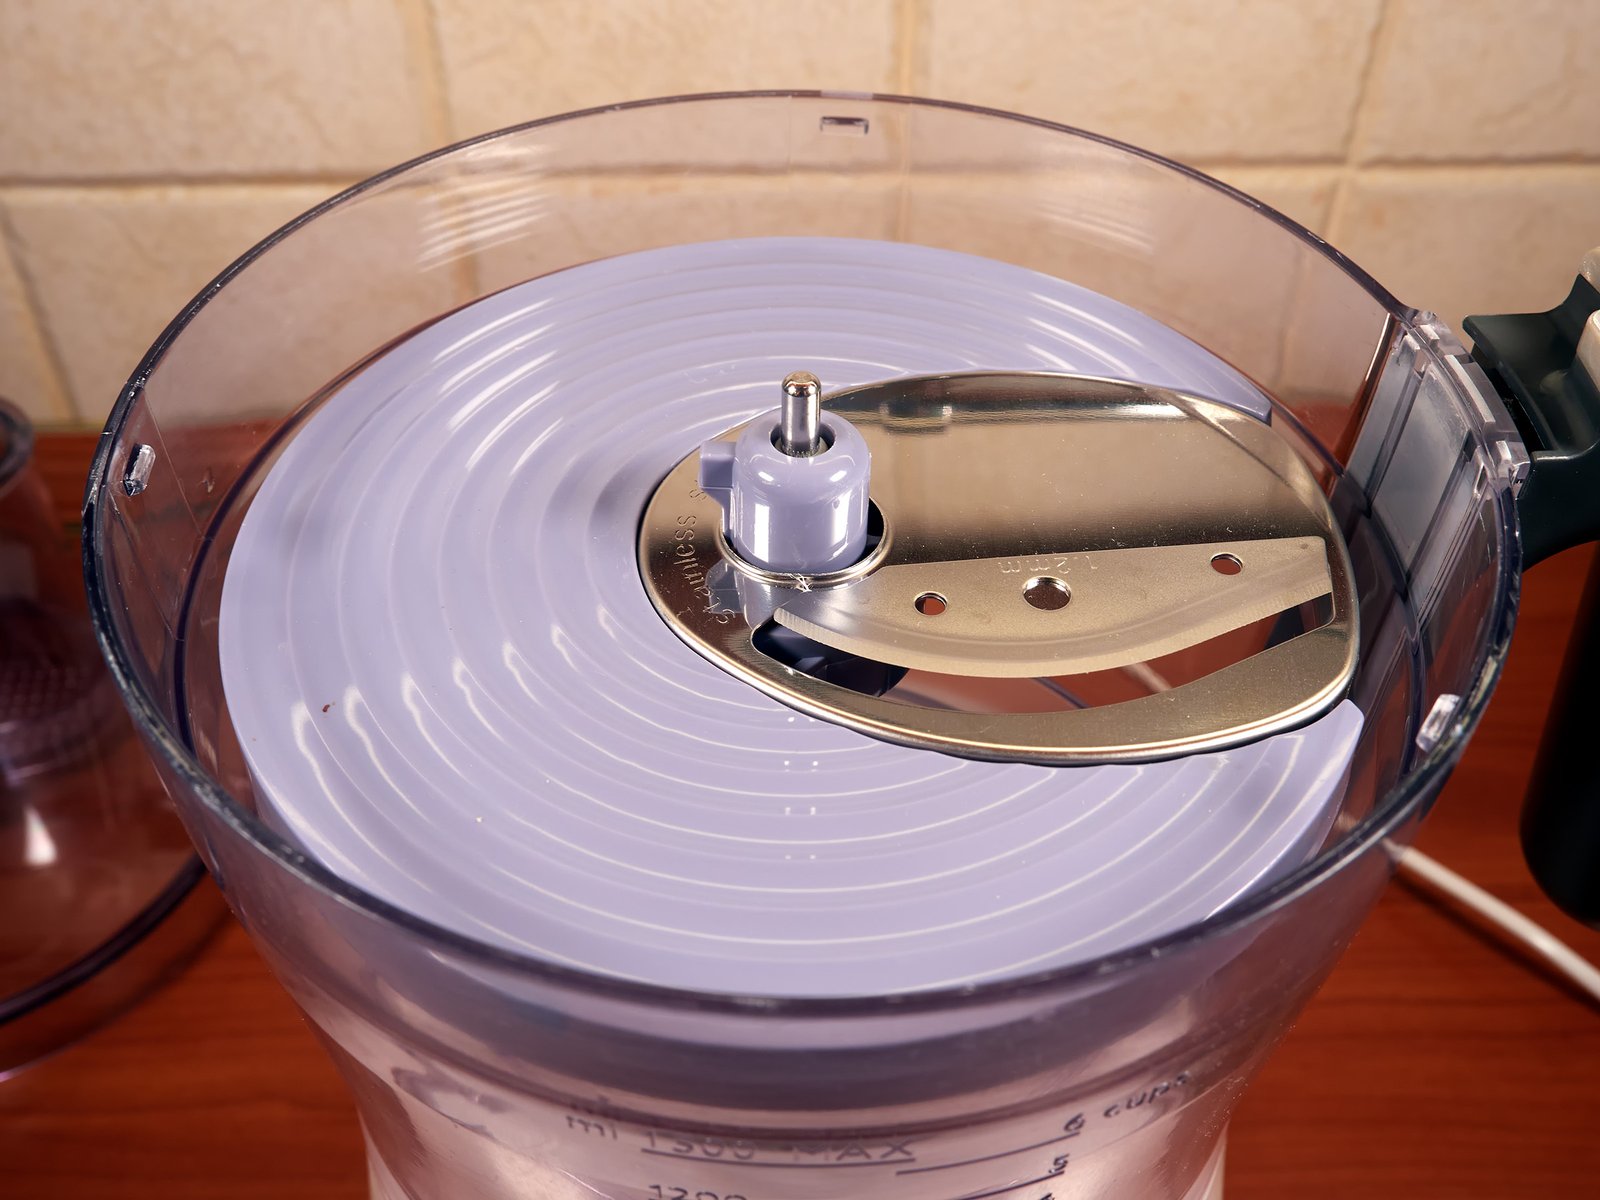
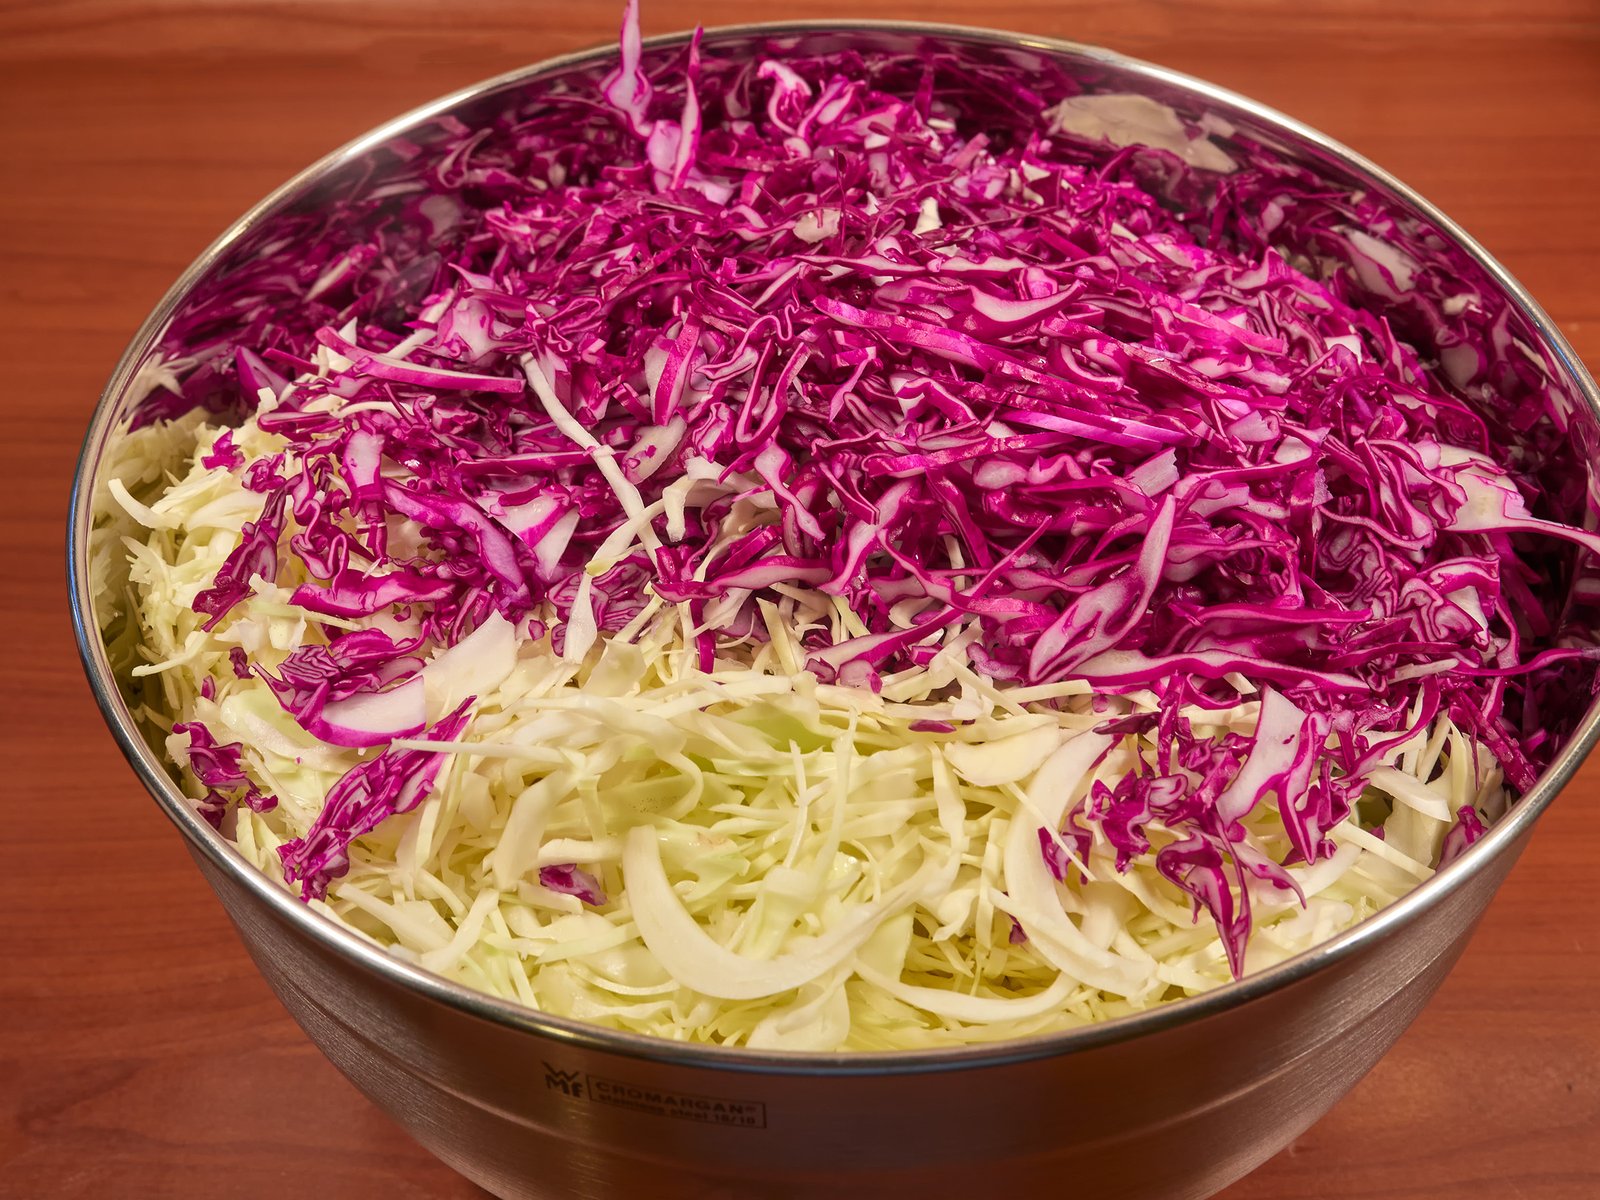
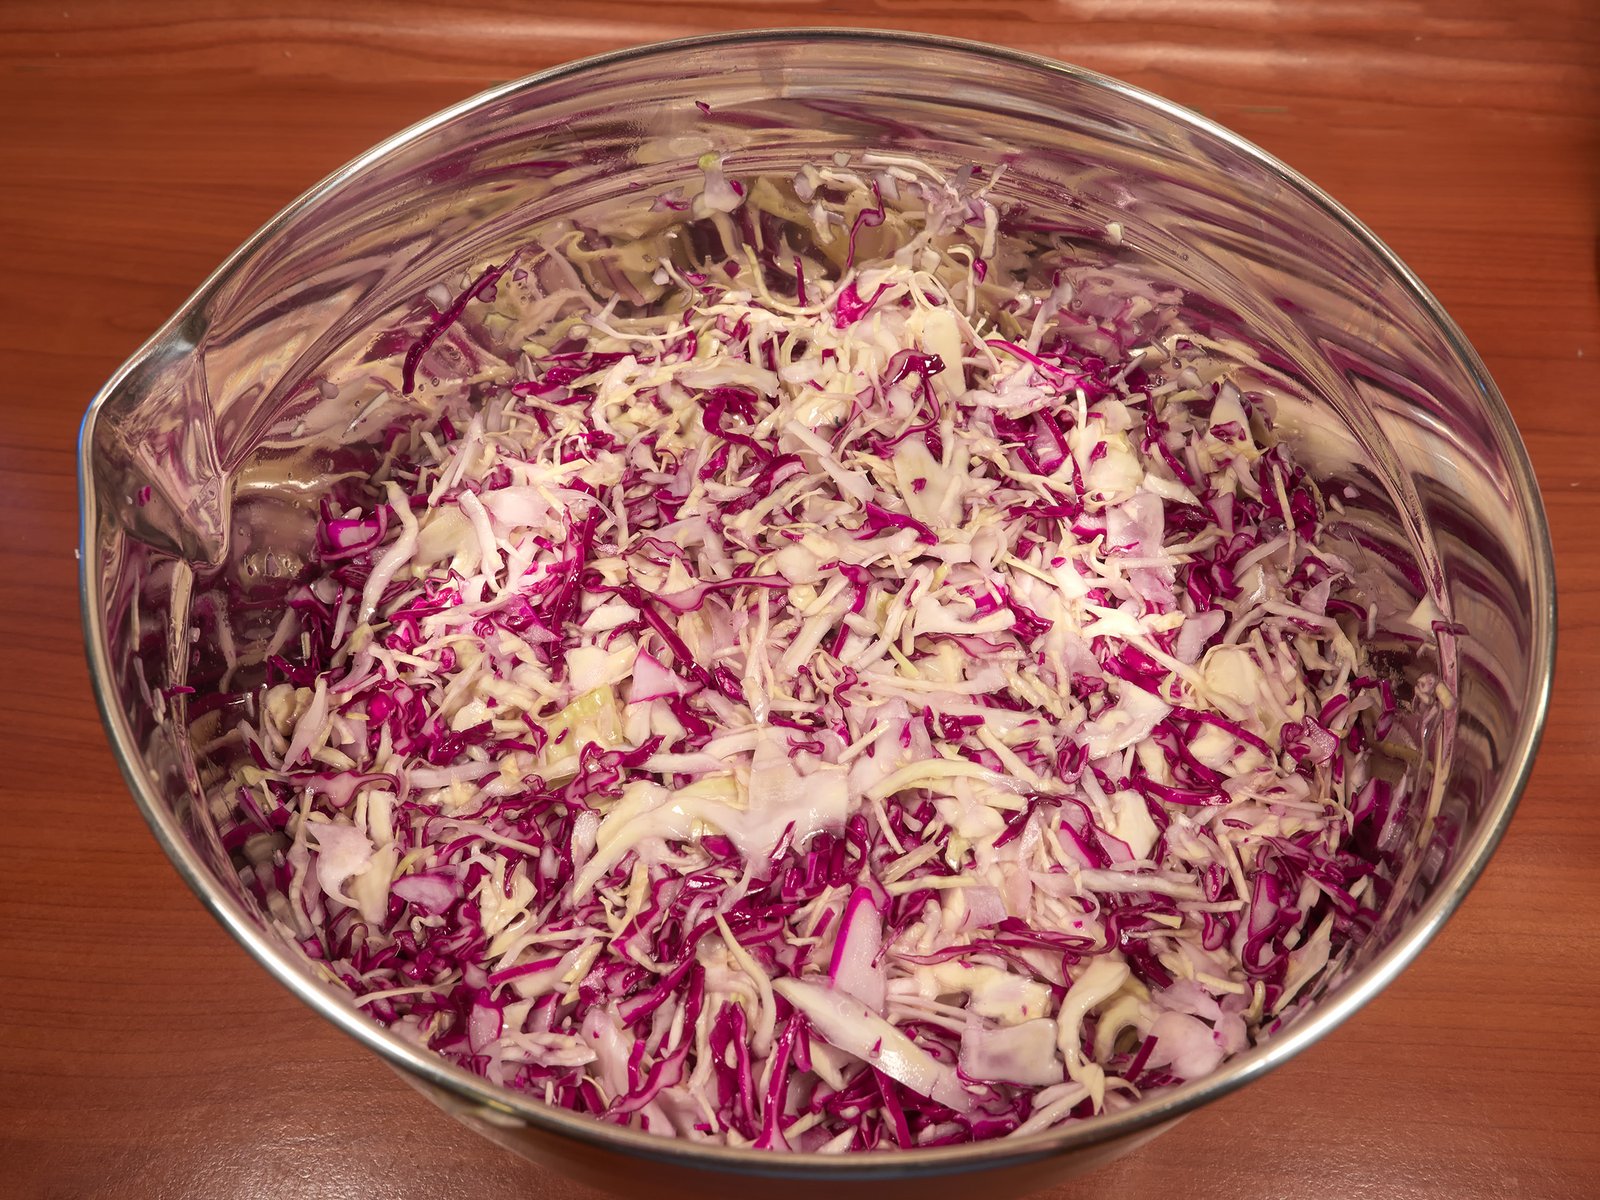
We start by preparing the brine. For a 5-liter jar, I usually prepare about 3 liters of water with one heaped tablespoon of salt per liter. We use coarse, non-iodized rock salt, traditionally used for pickling. For more consistent results, it's better to weigh the salt: approximately 30 g per litre of water. Bring the brine to a boil, then leave it to cool. By the time we finish preparing the vegetables and arranging everything in the jar, it should be back to room temperature. I save quite a lot of time by using a food processor to shred the cabbage. I use the thinnest slicing disc (1.2 mm) to shred the cabbage as finely as possible. Add a level tablespoon of salt, mix well, and set aside to soften slightly.
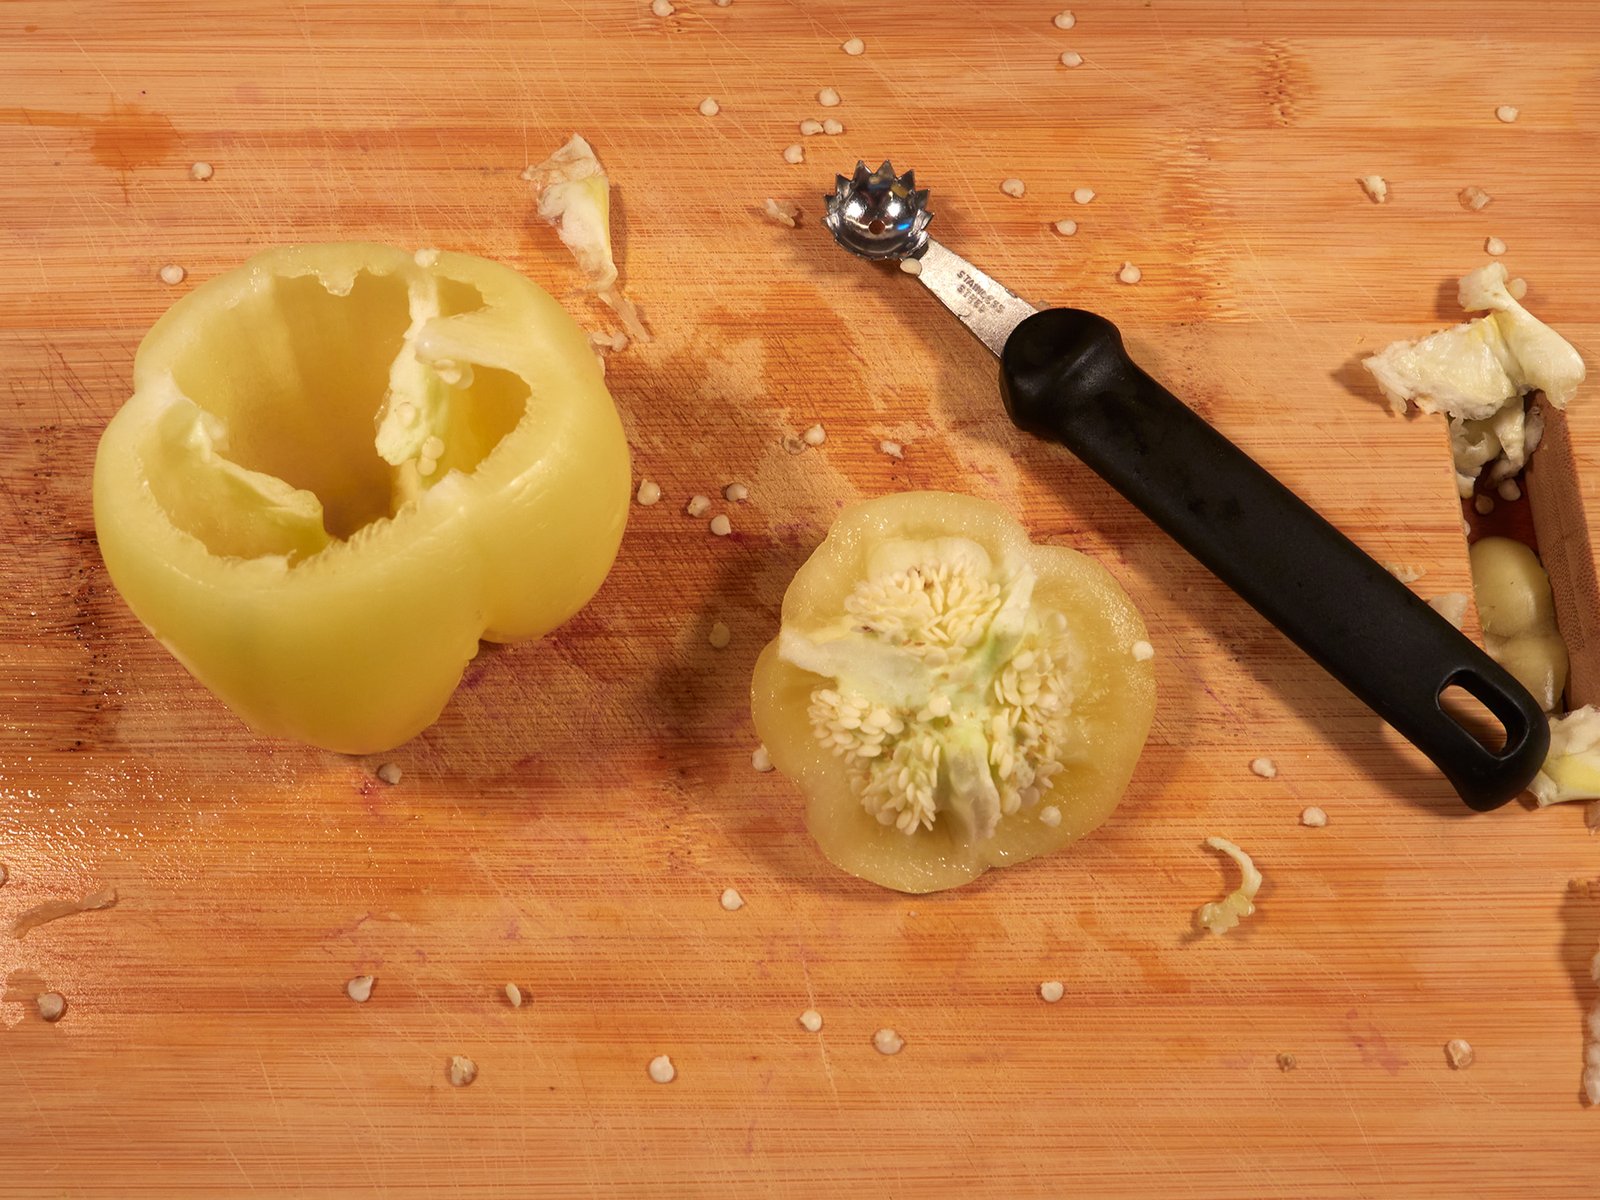
Next, grate the carrots and celeriac. I use the food processor again, this time with the medium grating disc. Add them to the cabbage and mix everything thoroughly. 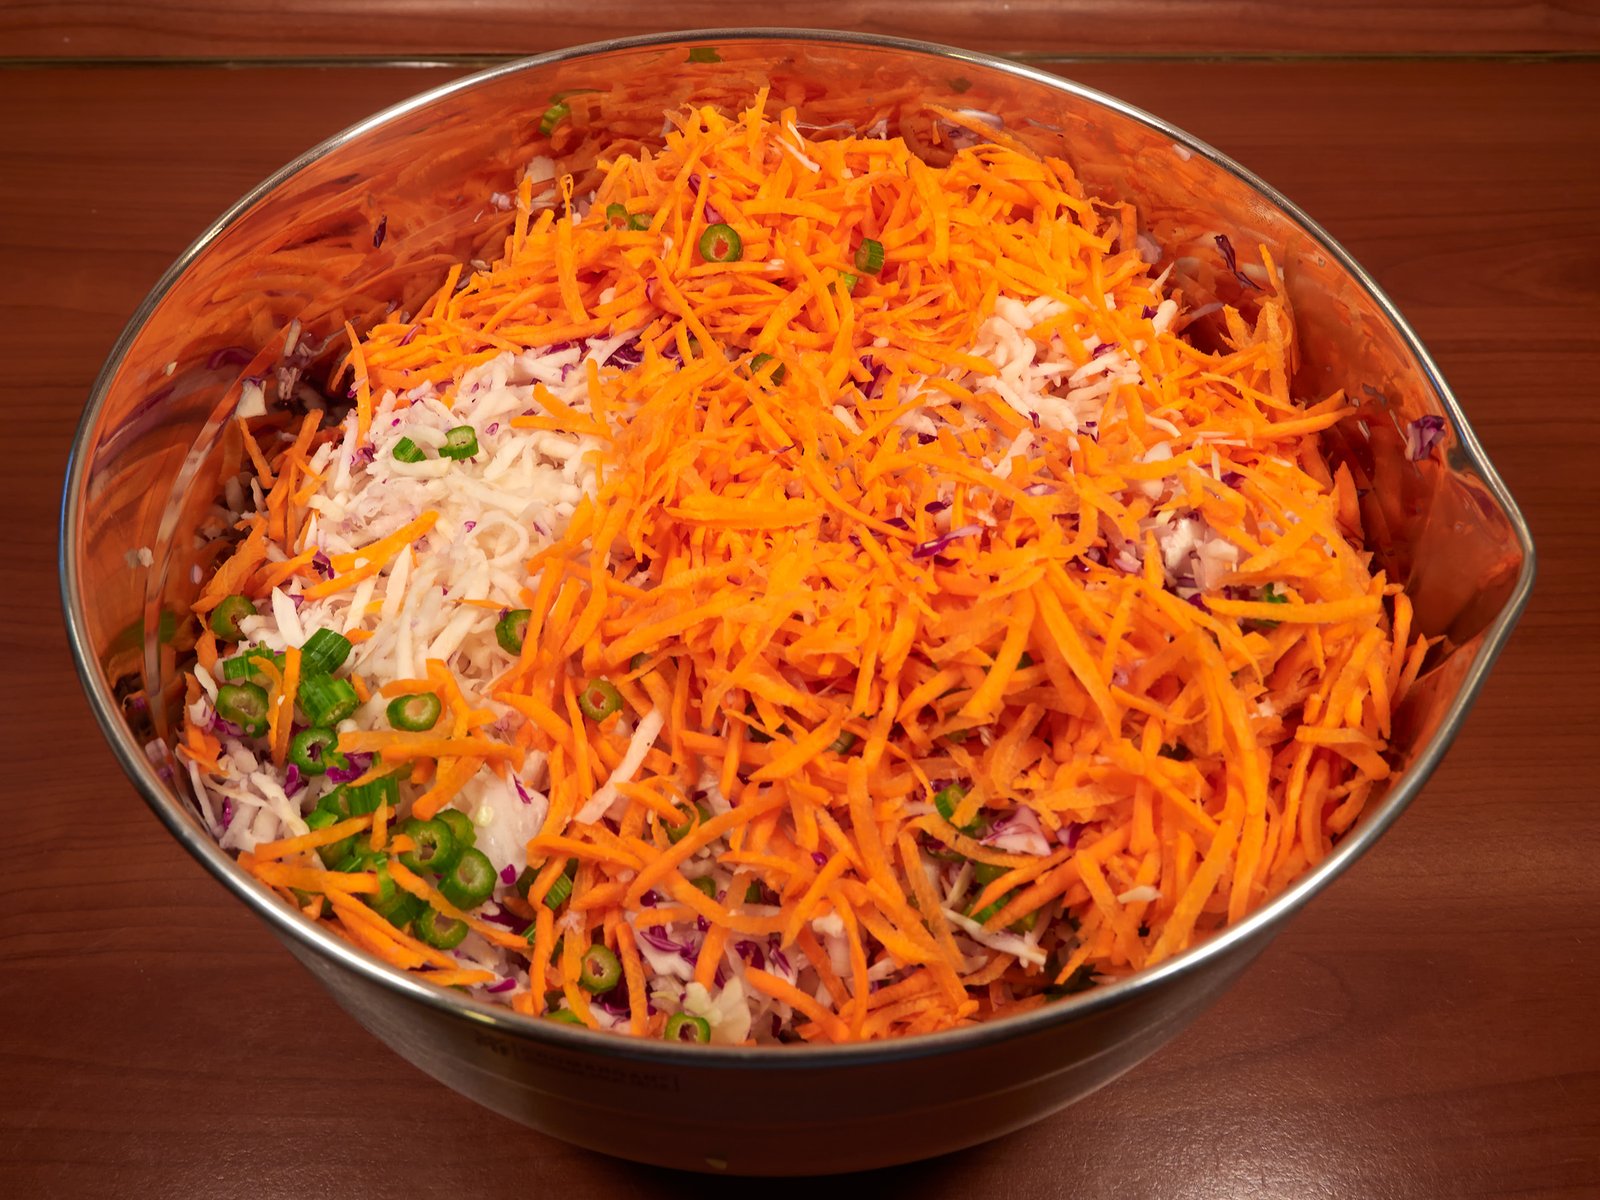 Wash the celery stalks and leaves and set them aside. We'll use them when arranging the peppers in the jar. Meanwhile, prepare the bell peppers. Wash them, remove the stems and seeds, then use a tomato corer to remove some of the inner ribs and make as much room as possible for the cabbage. We do this because my daughter usually picks out the cabbage and leaves most of the pepper untouched, so I try to fit in as much filling as I can.
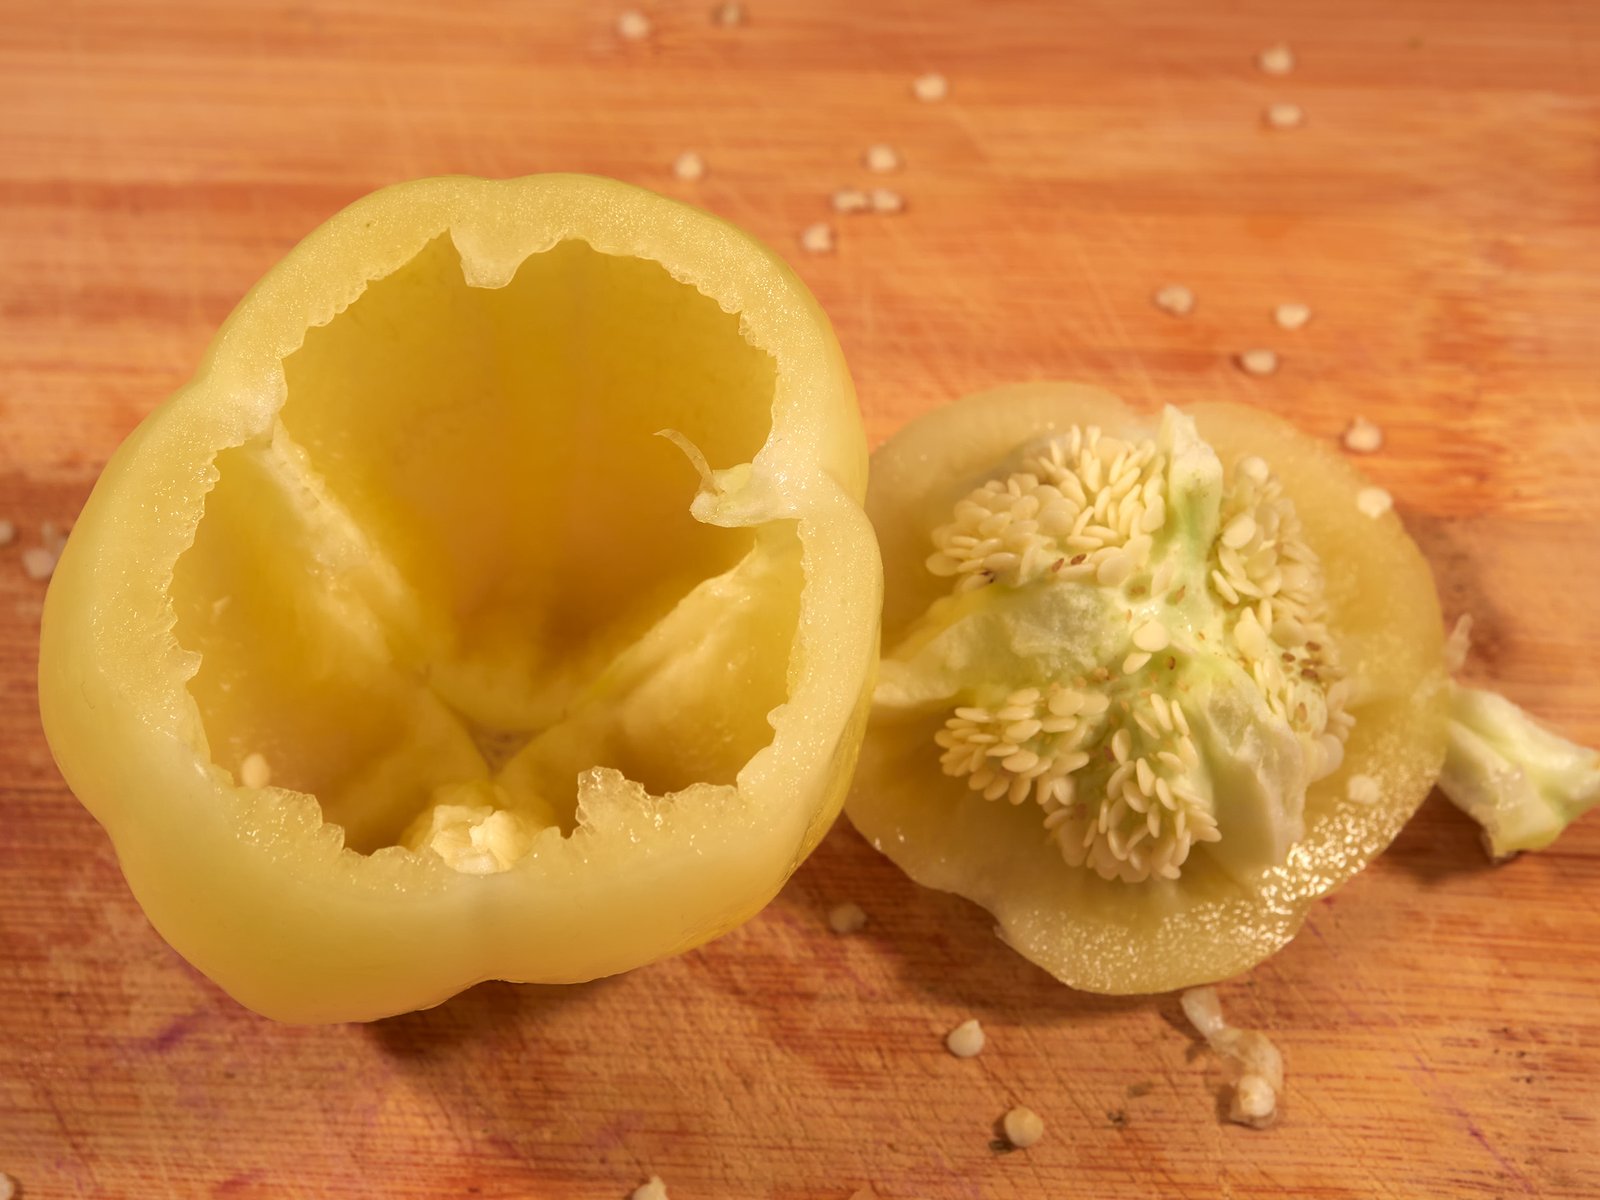
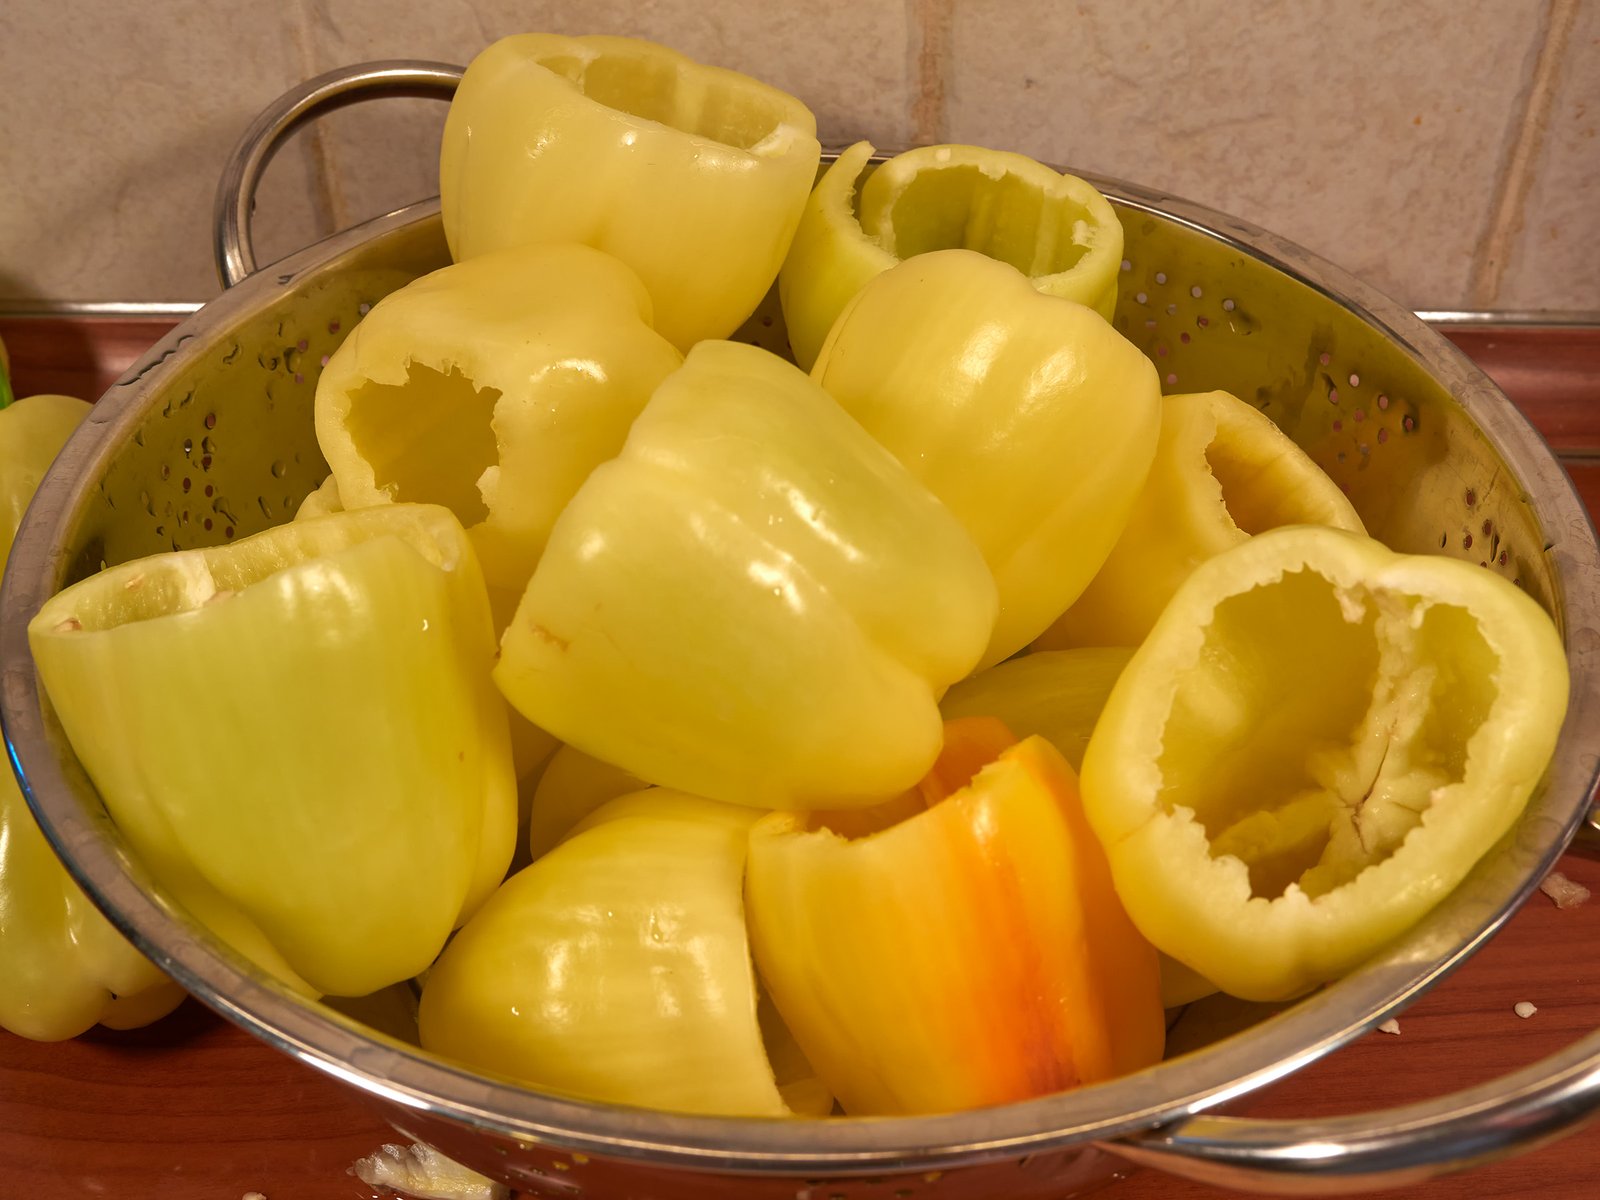
Make a small slit near the bottom of each pepper. This allows the brine to enter the peppers and reach the cabbage filling. Place a few dried dill stalks, some celery stalks and leaves, the thyme and part of the peeled, chopped horseradish root at the bottom of a thoroughly cleaned jar. Fill the peppers with the cabbage, carrot and celeriac mixture, packing the filling quite firmly. Arrange the stuffed peppers upright inside the jar, making good use of the available space without squeezing them too tightly. 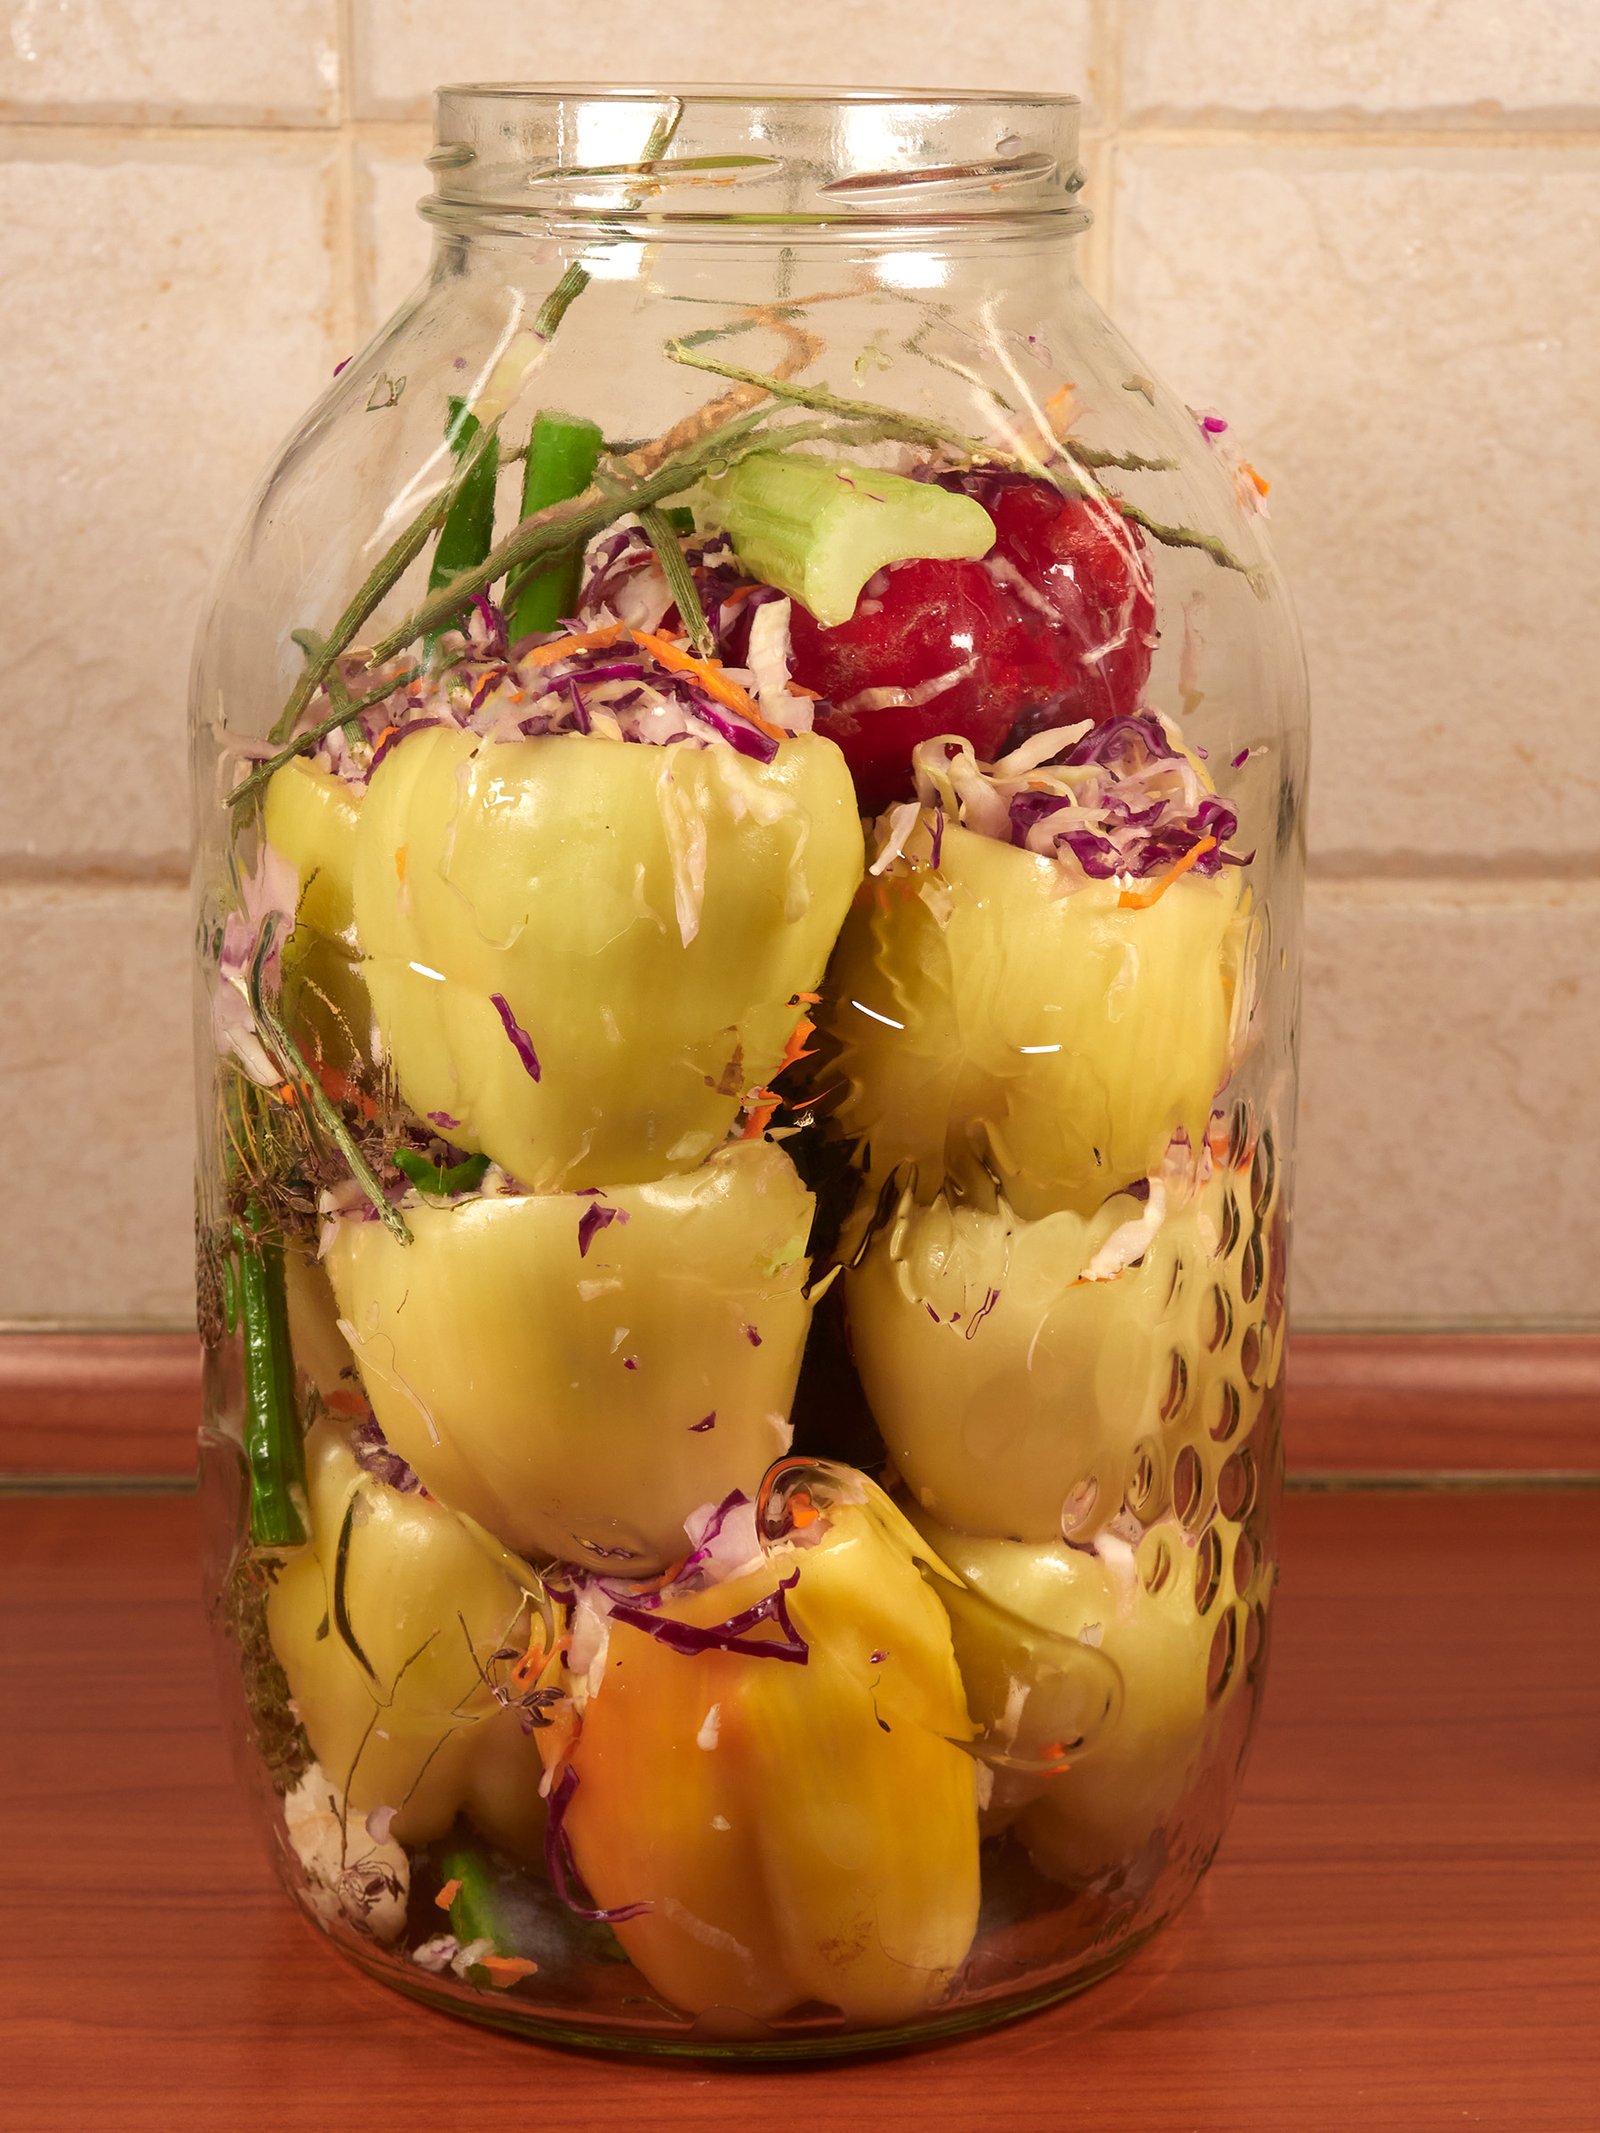 Finally, add the remaining celery stalks, dried dill, and horseradish on top. You can also use a few food-safe bamboo skewers, secured across the neck of the jar, or a fermentation weight to prevent the peppers from floating. Pour the cooled brine over the peppers until they're completely submerged. It's important to keep all the vegetables below the brine throughout fermentation.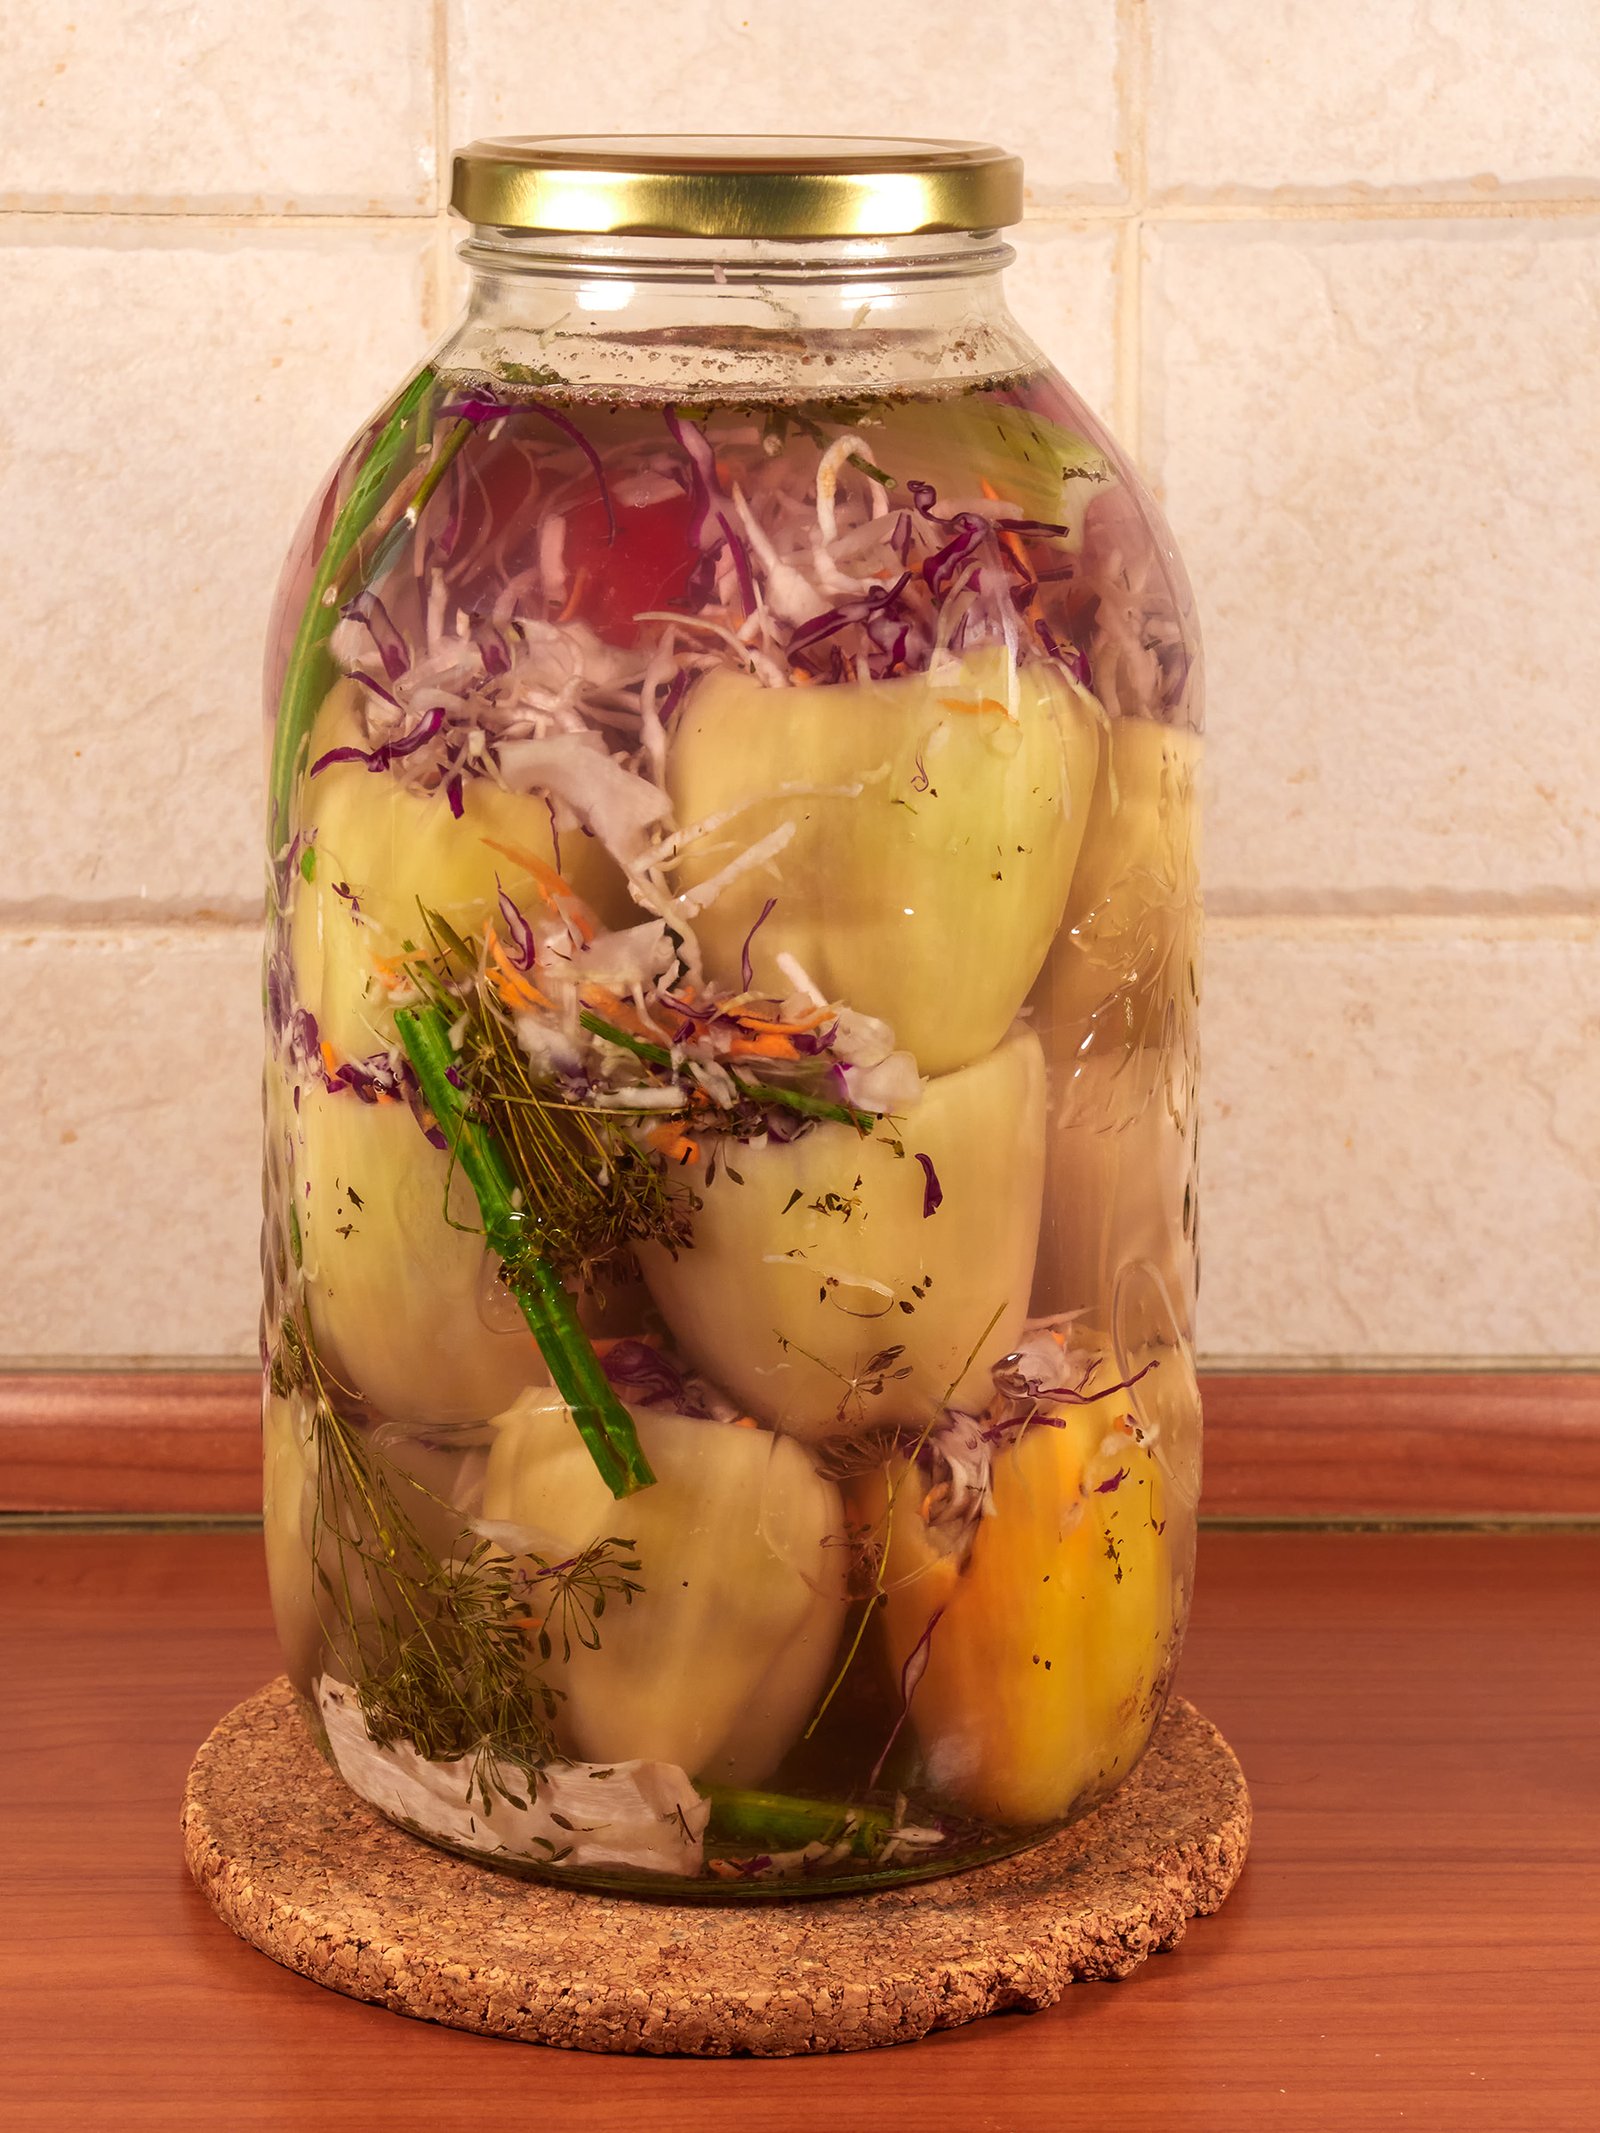
Fermentation and the traditional brine-aerating method
Once everything is in the jar, the peppers begin to ferment naturally. The lactic acid bacteria present on the vegetables gradually convert sugars into lactic acid, giving the pickles their characteristic sour flavor. In our family, we use a traditional Romanian technique called vânturarea murăturilor, which involves periodically removing and aerating the brine. Using a food-grade hose, we siphon the brine from the jar into a large pot. We then pour it back and forth between two containers four or five times before returning it to the jar. We repeat this process approximately every two days until the peppers are sufficiently fermented. Prepared this way, our cabbage-stuffed peppers are usually ready in about 10–14 days, depending on the temperature in the pantry. Once the peppers have reached the desired level of sourness, move them to a cool place or refrigerate them to slow down fermentation.
Notes
We always use coarse, non-iodized rock salt, traditionally sold in Romania for pickling. We don’t use iodized salt or sea salt; my mother always says it makes the pickles soft. Sometimes a thin, whitish film may develop on the surface of the brine. This is often caused by surface yeasts, which thrive when exposed to oxygen. Traditionally, we skim this film off before aerating the brine. My mother also taught me to add another tablespoon of salt if such a film appears, although extra salt isn't always a guaranteed solution. On the other hand, if you notice fuzzy mould, coloured patches, unpleasant odors, or vegetables and brine that have become slimy, something has gone wrong. In that case, the safest option is to discard the entire batch. Some people like to place carrot slices or sticks between the peppers, mainly for decoration. We skip this step and use the carrots only in the filling. My mother’s original recipe includes a hot pepper for a little extra heat. We leave it out because our daughter prefers mild pickles. Once the peppers are ready, keep them refrigerated or in a reliably cold storage area, making sure they remain completely submerged in the brine.